How to Iron a Shirt – The Ultimate Guide
Ironing your shirt can make or break your entire look, and is an essential part of putting your every-day work outfit together.
Whether you’re in a rush or simply not well-practiced in the art of ironing, our expert guide to ironing shirts is here to make it as easy as possible to look crisp, fresh and put-together.
Download our 5 step guide on how to iron a shirt here.
- Preparing your shirt for ironing
- The complete guide to ironing your shirt
- Step 1: How to iron the collar
- Step 2: How to iron the cuffs of a shirt
- Step 3: How to iron the sleeves of a shirt
- Step 4: How to iron the front of a button-down shirt
- Step 5: How to iron a shirt’s shoulders, yoke and back.
Before you start: Preparing your shirt for ironing
Is ironing good for clothes?
A great outfit can be easily ruined by a few wrinkles that take the entire look from smart to sloppy. Ironing your shirt is the best way to get rid of any creases and uneven folds to give it that pristine and finished look.
Ironing your shirts doesn’t only make them look better (and in turn, make you feel better), but it also protects and maintains your clothes. By sealing the fabric, ironing makes your shirt more resistant to everyday wear and tear.
Before taking an iron to your shirt, making sure you check the care label first.

Your item can be ironed at any temperature if the care label iron symbol has no dots. The more dots on the iron symbol suggests the temperature of heat that can be applied.
What causes shirts to crease and wrinkle?
The dents and creases that show up on your shirts can occur for a number of reasons, but it usually all comes down to regular, every-day wear. This is especially true for shirts that you wear for your 9-5, which go through a lot from your daily commute to rubbing against your chair as you sit behind your desk.
Another reason you may be noticing more wrinkles in your shirts is due to wearing your shirts or putting them away while they’re still damp. Dampness locks the creases in your shirt, and as it dries makes them much harder to smoothen out.
Should I iron my shirts damp or wet?
Always iron your shirts while they’re still damp.
Most people would choose to iron their shirts right after laundering them. Make sure your shirts are still damp before you iron them to make it easier for the pressing to set in place and get rid of all of the creases.
If your shirts end up drying completely after a wash, make sure you spritz them with water to dampen them before ironing.
How to iron a shirt without burning it

There are a few precautionary steps to take to ensure you can iron your shirt without burning it.
- Reduce the heat of your iron. Choosing the right heat setting is essential to eliminating the risk of burning your shirt while ironing. A medium temperature should be enough to safely and professionally get the creases out of your shirt.
- Invest in an ironing cloth. When it comes to delicate materials, such as satin or silk shirts, an ironing cloth can make all the difference. An ironing cloth acts as a barrier between the clothing and hot plate of your iron, allowing you to smoothen out the wrinkles without direct contact with the burning hot surface.
- Iron inside-out. If you’re looking to avoid scorch marks on your garments, ironing the shirt inside-out is a guaranteed way to leave no marks on its surface.
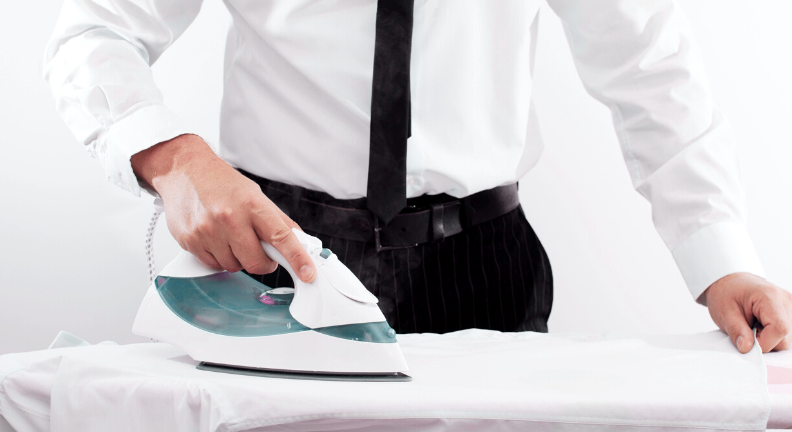
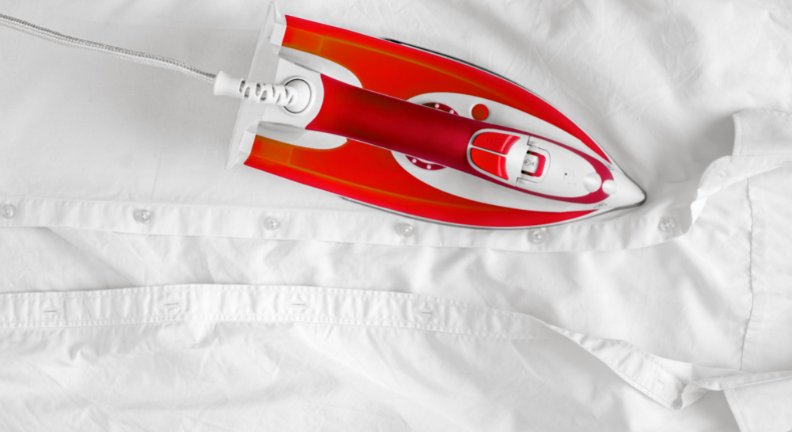
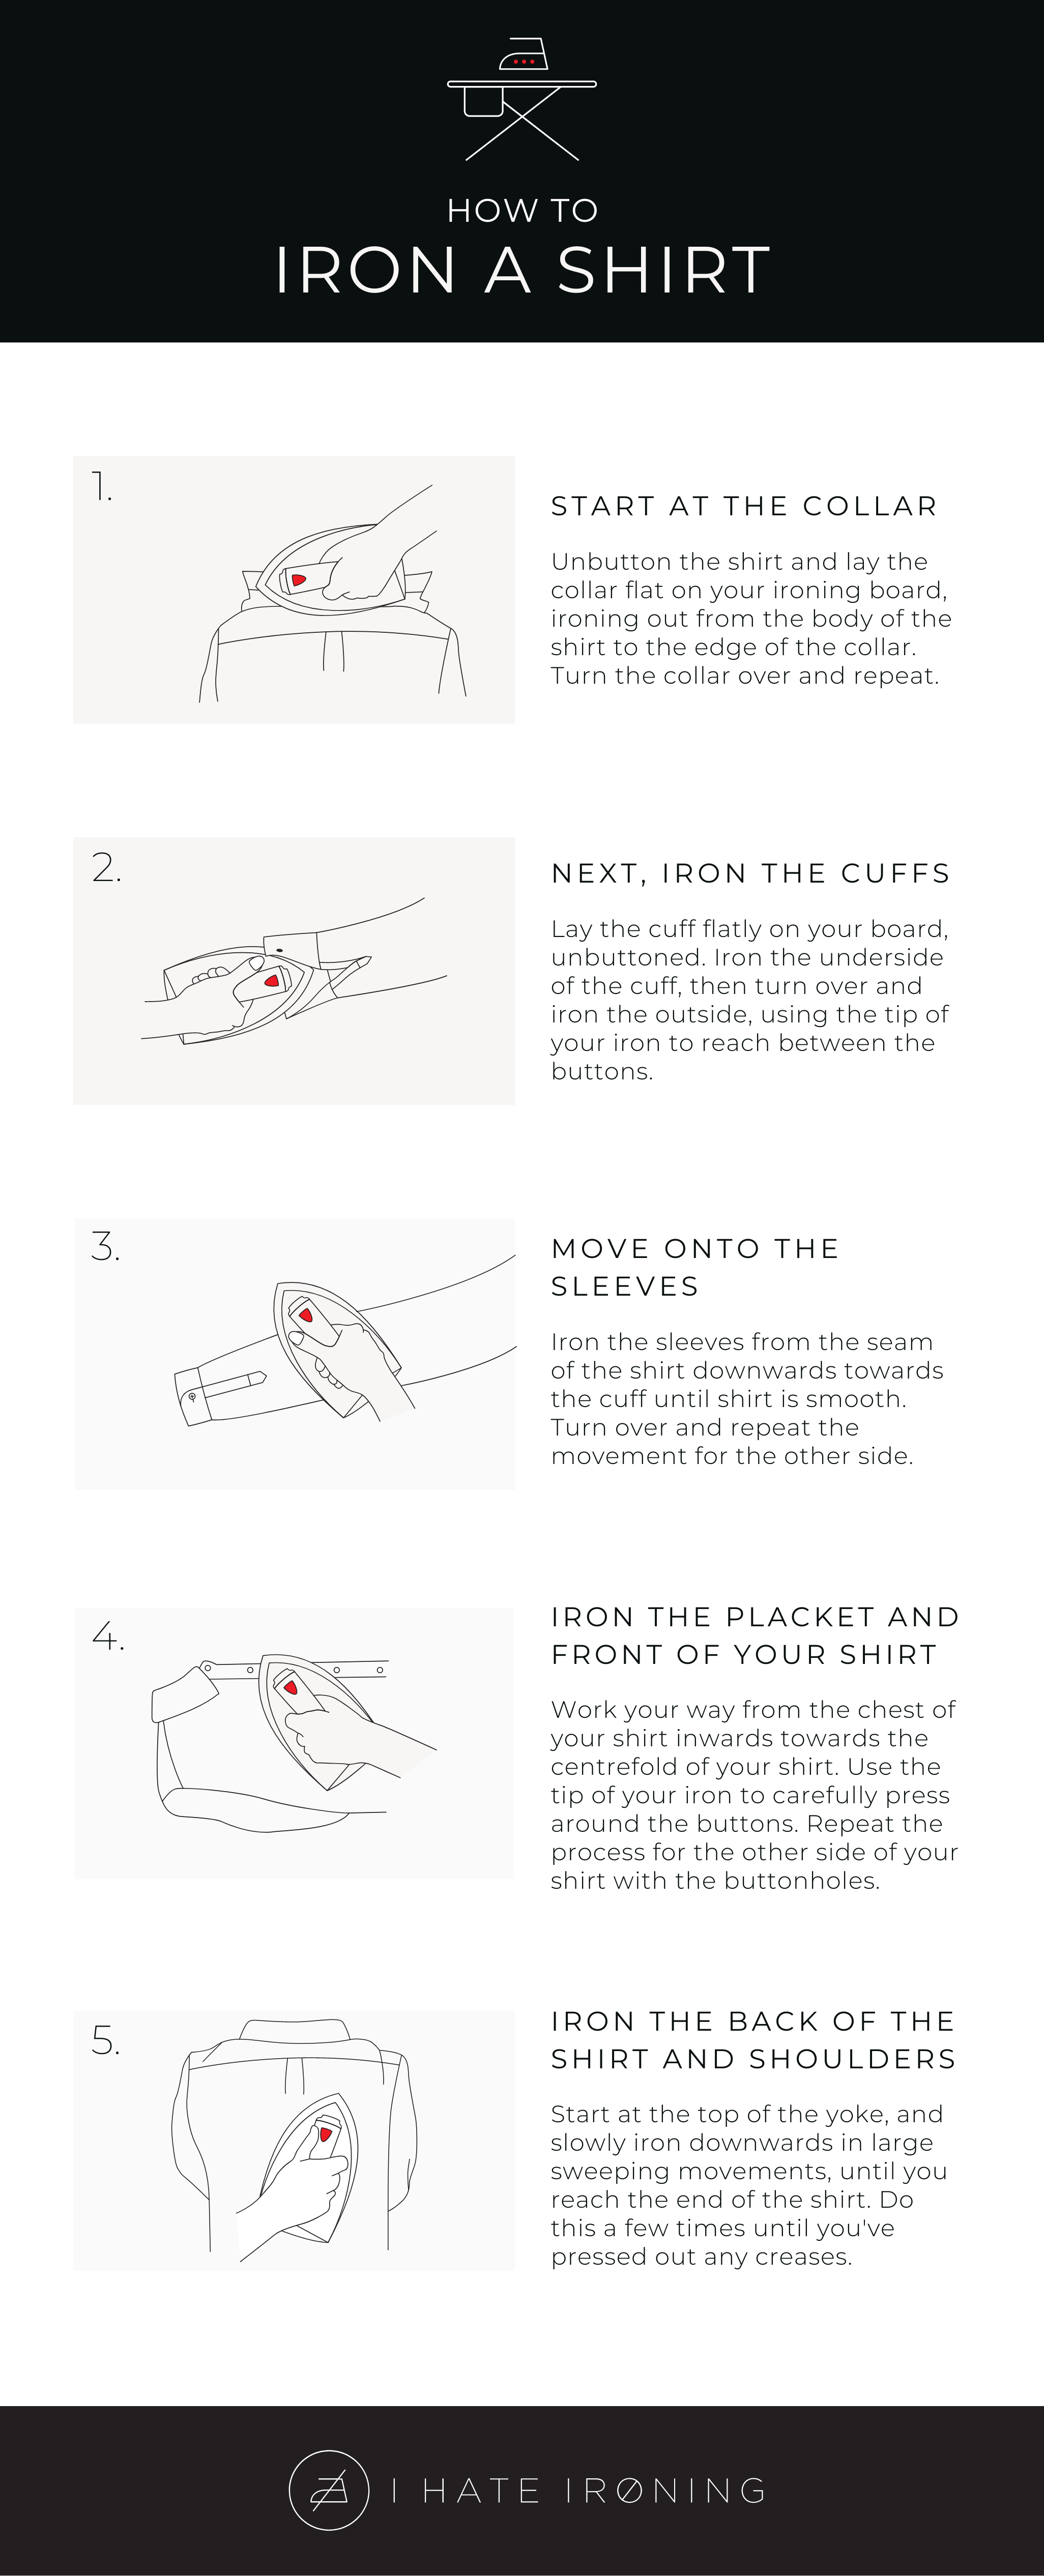
How to iron a shirt: A step by step guide
1. Start at the collar
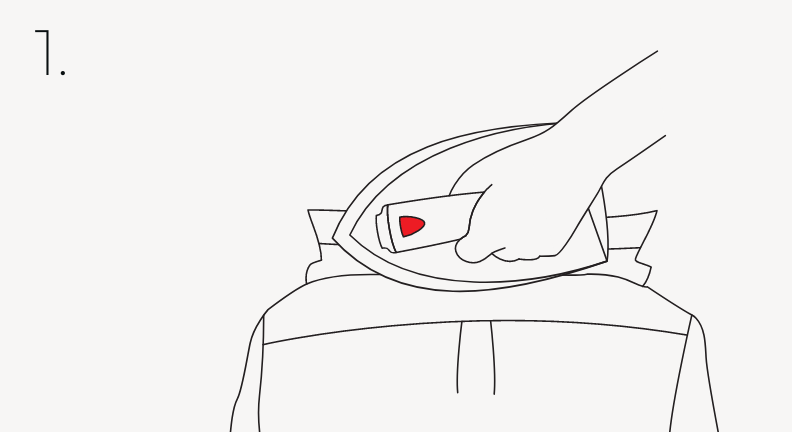
Unbutton the shirt and lay the collar flat on your ironing board, with the back of your shirt facing towards you. Iron by smoothening the creases outwards from the body of the shirt to the edge of the collar in long motions, repeating until the collar is pressed. Once smoothened out, turn the collar over and iron the other side.
2. Next, iron the cuffs
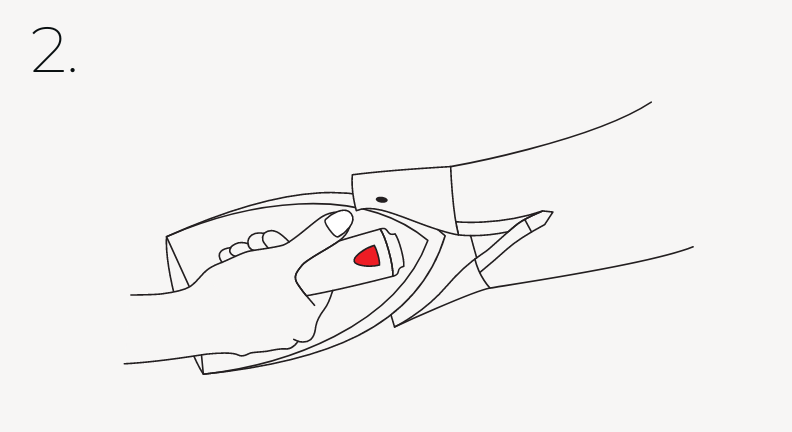
If you’re ironing a long sleeve shirt, unbutton one cuff and place it flatly on your board. Iron the inside of your cuff until smooth, and then turn it over an iron the outside, using the tip of your iron to maneuverer around the button. Repeat this process for the other arm.
3. Move onto the sleeves

Next, place one sleeve flat on the ironing board with the other side of your shirt hanging off the edge. Iron from the seam of your shirt downwards towards the cuff in large sweeping motions. Avoid small and rushed movements which can cause more dents and creases. Once smoothed out, turn over to iron the other side. Repeat the process for the other sleeve.
4. Iron the placket and front of your shirt
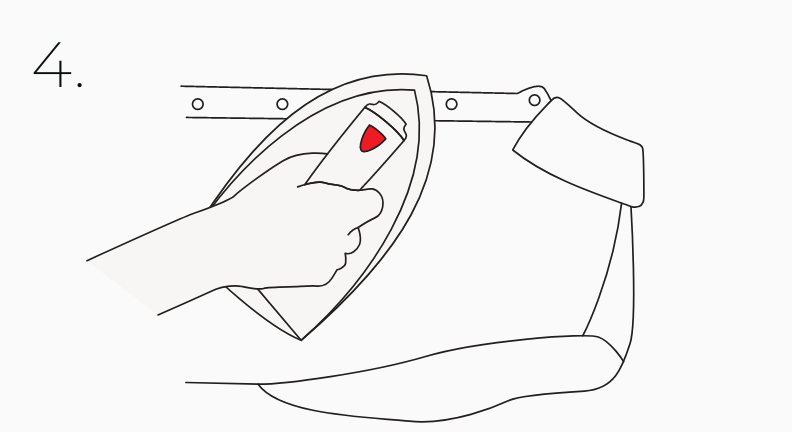
Place your unbuttoned shirt down on your board, and start with the side with the buttons. Work your way in from the armpit towards the middle of your shirt, carefully using the tip of your iron to press around them. Once this side is smooth, turn it inside out and iron the centre strip again to make sure all creases are eliminated. Repeat the technique for the side with the button-holes.
5. Iron the back of the shirt and shoulders

Slip your shirt over the ironing board, with the back facing towards you. Begin at the top of the yoke and slowly iron downwards in long sweeps. Use your other hand to hold the shirt down to make sure you can even out the creases with your iron.
If your board is too wide or thick, simply place the shirt on top of it and follow the above steps.
This step by step guide to ironing will have your clothes feeling crisp and fresh for any occasion in 5 simple steps. But if ironing your shirts is taking you too much time, you can opt for professional ironing and pressing services that’ll take the hassle of the entire process off your hands.
You can download our Step by Step Guide to Ironing here.
ihateironing is a network of professional dry cleaners providing the finest dry cleaning and laundry service with convenient collection and delivery at any times that suit you. We operate in London, New York, Brighton, Edinburgh, Oxford, and beyond.